Using Digital Stickers in GoodNotes Like a Pro
Import PNG sticker packs into GoodNotes 6 and build a reusable sticker library.
Why digital stickers slap
They're infinitely reusable, never run out, and you can resize them without scissors. Once a sticker is in your GoodNotes library, it costs you nothing to place it a hundred times — on every weekly spread, every goal page, every monthly cover. And if you decide to redo a layout, just delete and replace. No wasted sticker paper, no lost originals.
Digital sticker journaling has made this hobby genuinely accessible for people who want the aesthetic without committing to physical supplies. All you need is an iPad, the GoodNotes app, and a pack of transparent PNG stickers.
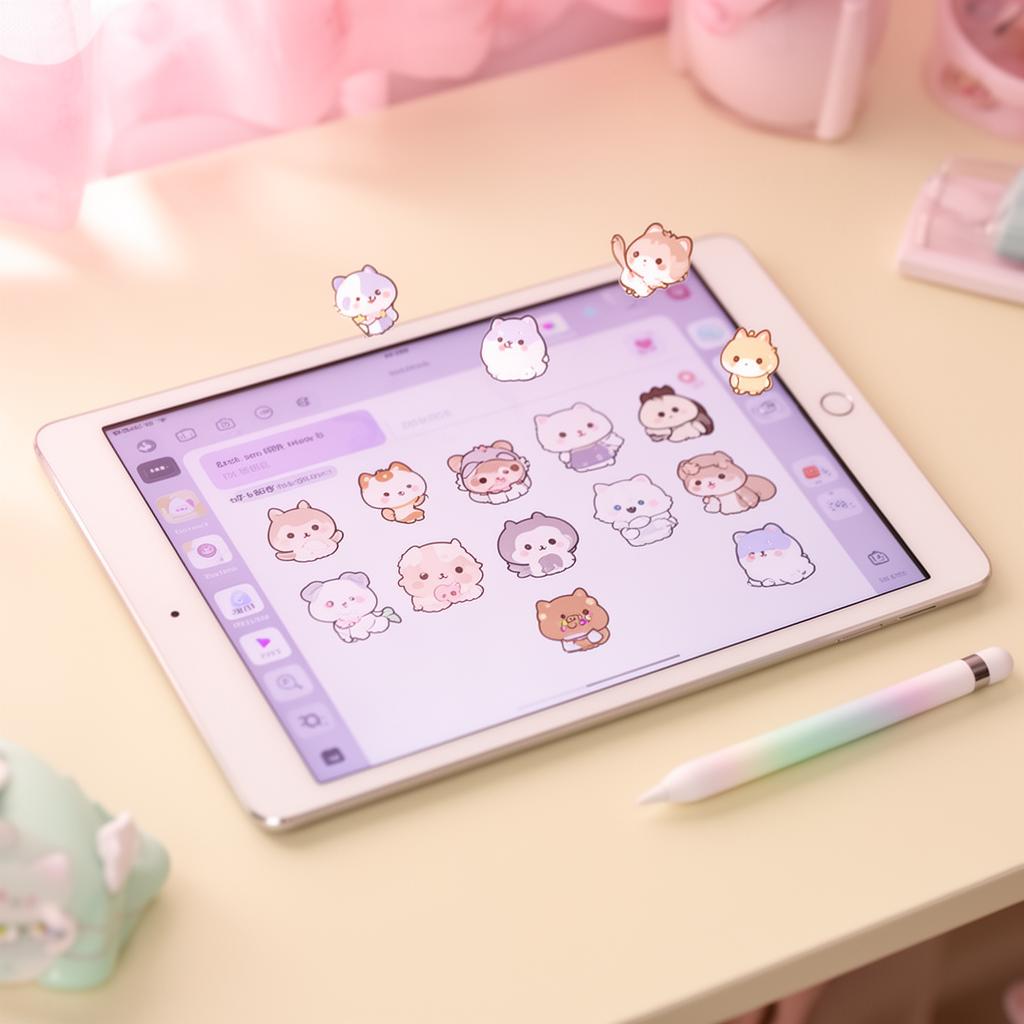
What you need
An iPad (any model works, though the Apple Pencil makes layouts feel much more tactile), GoodNotes 6 or Notability, and sticker packs downloaded as transparent PNGs. Always choose PNG over PDF when using stickers digitally — the transparent background means stickers layer naturally over your journal pages without a white box around each one.
Our packs include both PDF (for printing) and PNG (for digital use) downloads. For GoodNotes specifically, use the PNG files.
Importing your pack
Open GoodNotes, tap the sticker icon (the star in the toolbar), then tap the "+" icon to create a new collection. Name it something you'll recognize — your pack name works perfectly.
Drag and drop
With Files open in split-screen next to GoodNotes, long-press any PNG from your downloaded pack folder and drag it into the GoodNotes sticker collection. Repeat for the whole pack. Most packs have 10–28 individual sticker files — it takes about two minutes to import a full set.
If drag-and-drop feels fiddly, you can also tap the "+" inside the collection and navigate to the file using the picker.
Organizing collections
The more stickers you have, the more you'll appreciate a good organization system. Rather than one huge "stickers" collection, create collections by theme or mood:
- Weekly spread — day labels, habit trackers, priority flags (try Kawaii Days for beautiful day-of-the-week markers)
- Monthly covers — seasonal headers and monthly titles (Kawaii Months has all 12 months with matching chibi bears)
- Study mode — books, pens, goals, and motivational labels (Study Buddy is built exactly for this)
- Finance tracker — budget headers, savings goals, and pay day markers
- Vibes & decoration — anything cute that doesn't fit elsewhere
Keeping collections focused means you can find what you're looking for mid-journaling session without scrolling through 200 stickers.
Using stickers in a spread
Tap any sticker in your library to place it on the current page, then drag to position. Pinch to resize — smaller stickers work for bullet points and tiny margins, larger ones for headers and hero placements.
Hold to duplicate a sticker without going back to the library. This is genuinely useful: if you're placing a row of habit-tracker checkboxes, duplicate gives you perfectly consistent sizing with no re-importing.
Two-finger rotate for that perfectly-tilted vibe. A slight angle on a header sticker immediately makes a spread feel more hand-crafted and less template-y.
Using the lasso tool
The lasso tool (the loop icon) is your best friend for moving groups of stickers. Draw around a set of stickers to select them all, then move or resize them together. This is essential when you're tweaking a layout after placing everything.
Saving custom layouts
Group a set of stickers you love, then save the whole group as a new sticker — it appears in your collection as a single image you can place and resize as a unit. This is the key to building reusable templates.
Build your ideal weekly header once (day labels, a motivational quote sticker, a few decorative plants from a floral pack), group everything, save it as a sticker, and then place that single "header unit" at the top of every new week. Instant consistency, zero effort.
Building a digital planner system
Once your sticker library is set up, the logical next step is a custom digital planner template. You can download free journal templates from sites like Etsy and Notion community pages, or design your own in Canva and export as a PDF.
Load the PDF as a "notebook cover" in GoodNotes, then create a new notebook using it as the template. Every new page will use that layout — and your sticker library lives in the toolbar ready to drop in.
Pro tips for GoodNotes power users
- Lock background layers: If your template has a background image, lock it under Elements → Lock so you don't accidentally move it while scribbling
- Use the ruler for grids: The ruler tool makes perfect grids for monthly calendars — align it once and draw consistent lines
- Sync across devices: GoodNotes syncs via iCloud, so your sticker library and notebooks are always available on iPhone, iPad, and Mac
- Export to PDF: When you want to share a spread, export the page as a PDF — it preserves all your stickers and handwriting beautifully
You might also enjoy
- Kawaii Journaling 101 — the foundational guide to getting started with sticker journaling
- Printing Stickers at Home Without the Headache — for when you want your stickers in real life