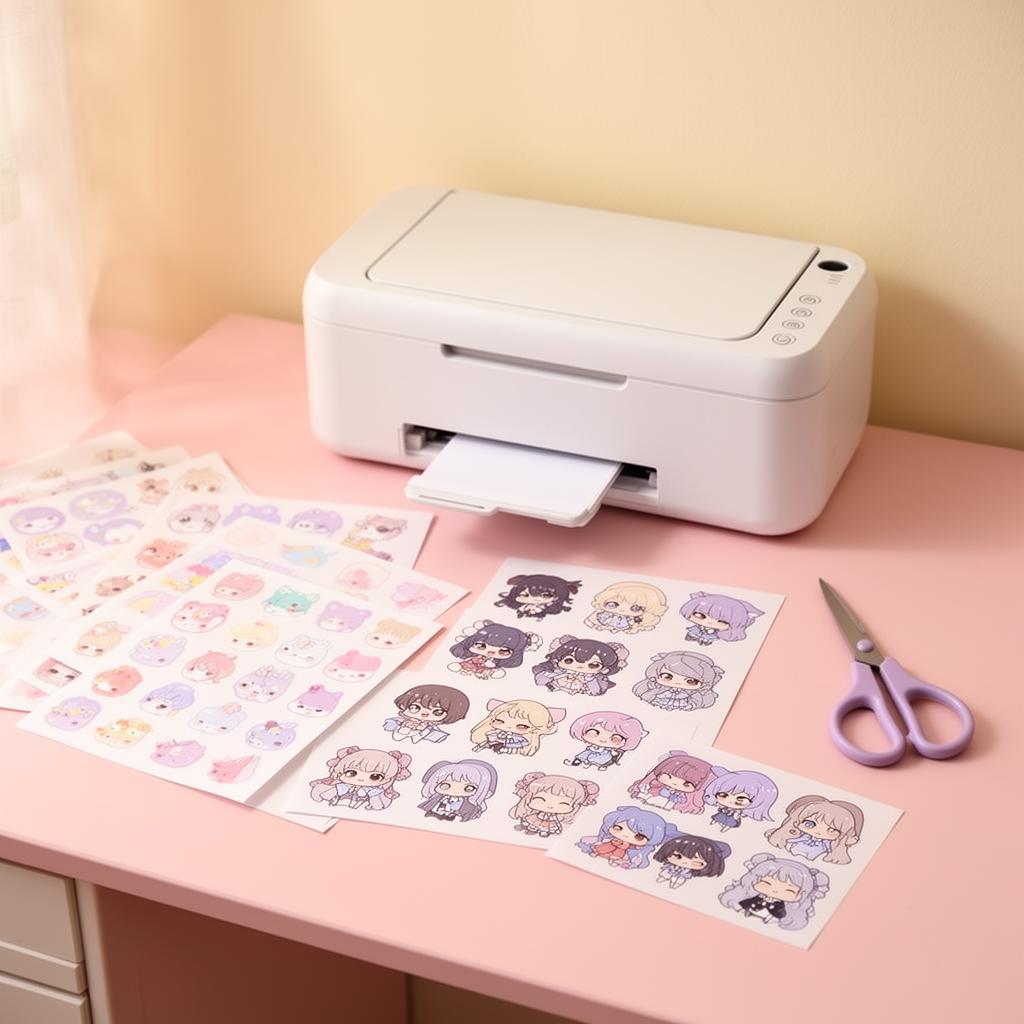
Printing Stickers at Home Without the Headache
Paper, printers, and cutting tips for turning PDF sticker packs into real stickers.
The right paper changes everything
You don't need a fancy printer. You need the right paper. This single swap — from regular copy paper to actual sticker paper — transforms your printed sheets into something that feels genuinely polished and professional.
Sticker paper is available at craft stores and online (look for "full sheet label paper" as a budget option). A pack of 20–25 sheets goes a long way, and a single print of one of our packs fits perfectly on a standard US letter sheet.
Matte vs glossy
Matte sticker paper is forgiving and looks soft and dreamy. It pairs naturally with the kawaii aesthetic — that slight texture diffuses light in a way that makes pastels look even softer. Fingerprints are much less visible, too.
Glossy paper pops more but shows fingerprints and smudges easily. If you're laminating your stickers or sealing them with a gloss varnish, glossy base paper creates a beautiful high-shine finish. For everyday planners and journals though? Matte is the move.
Inkjet vs laser
Most home printers are inkjet — pair them with inkjet-compatible sticker paper. Laser users, grab laser-specific sheets to avoid melting. This is more important than it sounds: regular inkjet sticker paper through a laser printer can melt the adhesive and jam the machine.
Not sure which you have? Inkjet printers have cartridges that hold liquid ink; laser printers use toner cartridges that look more like a small can. When in doubt, check your printer model online before buying paper.
Print settings that actually matter
Set quality to "best" or "photo," and turn OFF page scaling so the sticker sizes stay true. This is the most common mistake: printers default to "fit to page" or "scale to fit," which shrinks your sticker sheet by 5–10%. That doesn't sound like much until your stickers are suddenly too small for the boxes you designed them for.
The exact setting location depends on your printer software, but look for "actual size," "100%," or "no scaling" in the print dialog.
Paper type setting
Tell your printer what paper it's printing on. Set the media type to "matte photo paper" for matte sticker sheets, or "glossy photo paper" for glossy. This adjusts how much ink is laid down and helps the colors look accurate.
Color calibration
If your stickers are printing too dark or too saturated, reduce saturation by 10–15% in your printer settings. Kawaii pastels are notoriously tricky — printers tend to over-ink pale colors. A quick test print on regular paper first will reveal any major issues before you use your nice sticker sheets.
Test page first
Print one page on regular paper first. Trust me. It takes 30 seconds and can save a whole sheet of sticker paper. Check that the sizing is right and the colors look how you expect before committing.
Cutting stickers cleanly
A craft knife and a small cutting mat beat scissors every time for tight corners. If you're cutting sheets with lots of small stickers — like the 20-sticker grid format in packs like Money Basics — scissors make it genuinely hard to cut straight lines between closely-spaced stickers.
A ruler and a craft knife give you clean, straight edges in seconds. Mark your cut lines lightly in pencil first if you need a guide.
For curved stickers (like the botanical pots in Tiny Garden or the round cloud shapes in Rainbow Planner), small curved scissors (also called embroidery scissors) give you much more control than standard scissors.
Cutting tips
- Work on a self-healing cutting mat, not your table
- Replace craft knife blades regularly — a dull blade tears rather than cuts
- For sheets with borders, cut the outer border first, then work inward
- Stack 2–3 printed sheets and cut together to go faster (this works for straight cuts only)
Bonus: kiss-cut at home
If you have a Cricut or Silhouette, use the "print then cut" feature and let the machine do the trimming. This is called a "kiss cut" — the blade cuts through the sticker layer but not the backing paper, leaving individual stickers on a sheet you can peel one at a time. It's the professional result, right from your home studio.
For Cricut users: download the PDF pack, convert it to a JPEG or PNG at 300 DPI, and import it into Cricut Design Space. Add a registration mark and run "print then cut."
Finishing touches
Once you've cut your stickers, store them in a small washi tape bag, a ziplock pouch, or a ring binder with plastic sleeves. Keeping stickers organized by theme or pack makes it much easier to grab the right one mid-journal session without hunting through a pile.
For extra durability — especially if you're using your stickers on a planner cover or travel journal — apply a thin coat of Mod Podge matte over the printed side before cutting. It seals the ink and makes the sticker much more resistant to moisture and handling.
You might also enjoy
- Kawaii Journaling 101 — everything you need to start your cutest journal
- Using Digital Stickers in GoodNotes Like a Pro — skip the cutting entirely with a digital setup